Blog
 REGISTER NOW


Morning Safety Check – Maintenance Series part 2 of 3
This is part 2 of our 3-part bike maintenance series. Click here for part 1 on cleaning your bike, and stay tuned for part 3 arriving next week.
Nobody wants a mechanical on the roadside that disrupts their ride. This 5-minute safety check can be done every morning and doesn’t require any tools.
It’s an easy, surefire way to keep you safe, and prevent any roadside hiccups. If you do this safety check every day, it will quickly become second nature.
We have divided the steps into A,B,C,D,E as an easy way to remember it.
A – for Air and wheels
B – for Brakes and headset
C&D – for chain & drivetrain
And E – for everything else tight.
Watch the video, or if you prefer read the blog below.
A — Air (tire pressure & condition and wheel check)
Squeeze your tires, and check with a pump if they feel a bit low.
TIP: by attaching the pump to your valve you inevitably loose some of the tire pressure when air leaks out before the pump head seals around the vale. So there is no need to pump them if they feel as firm as yesterday.
Spin the wheel slowly, looking at the entire surface area of the tire. You are looking for embedded debris (most often its small shards of glass, or tiny strands of wire) or cuts in the sidewall.
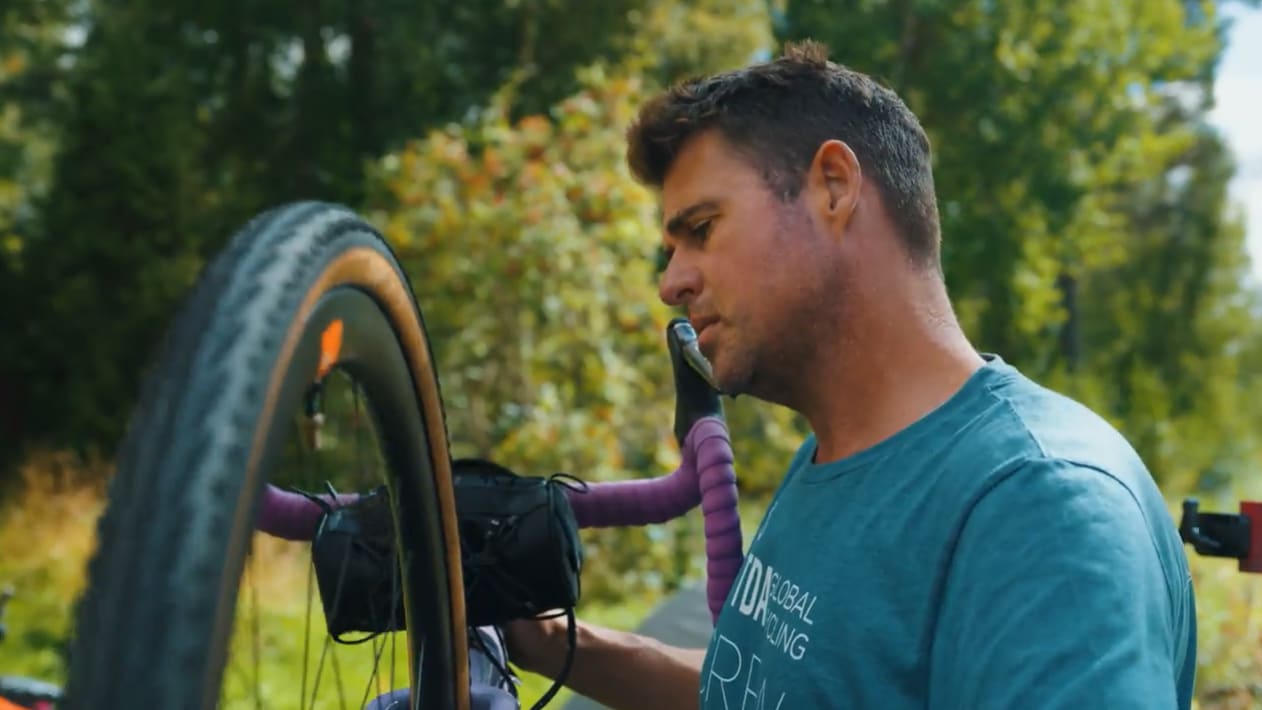
For tubeless systems, check if the tire still holds a bead and hasn’t seeped sealant overnight.
Then, while standing beside the bike, grab the front wheel and push and pull it side to side to make sure the wheel and hub assembly doesn’t have any give or play. Then do the same with the rear wheel.
B — Brakes & headset check
Now squeeze each lever, and make sure they don’t feel too soft. They are too soft if the lever is pulling all the way to the bar.
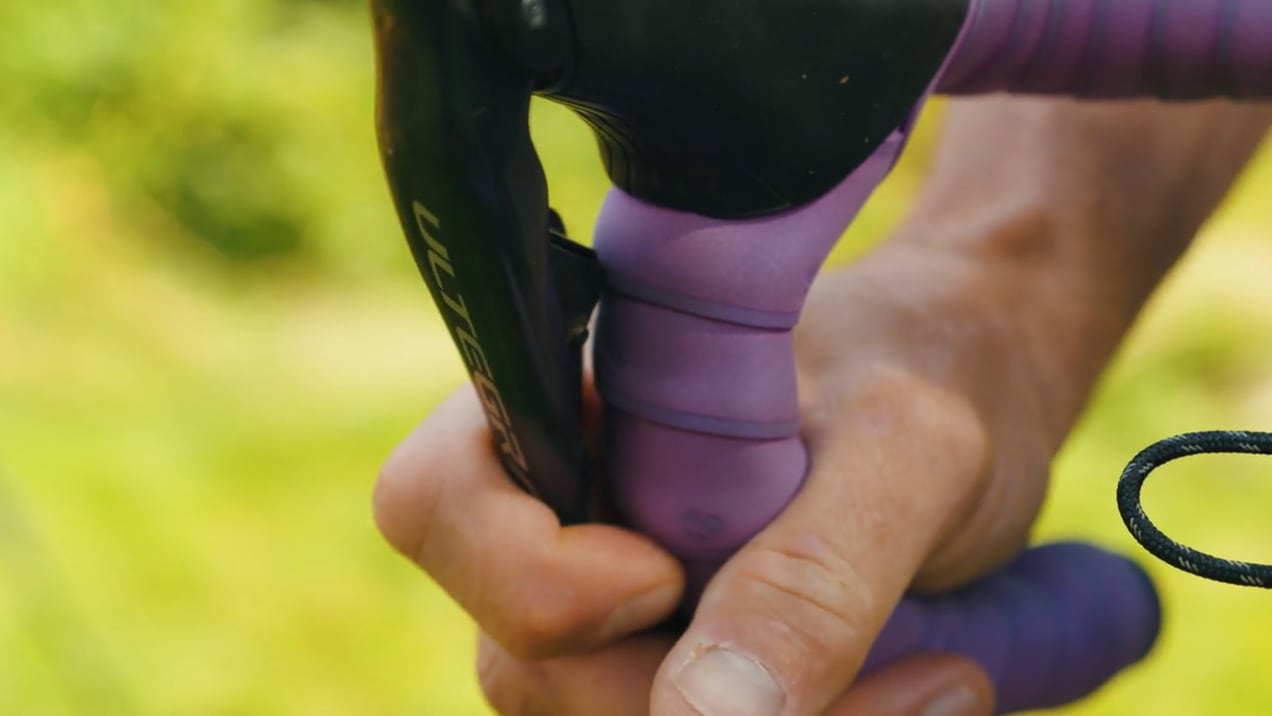
Visually check the brake pads for wear. Inspect the condition of the rotor (is it bend, rusted, oily?) and rim (is the rim cracked or visibly out of true?). Push the brake caliper to see if it’s secure. It should have no play and be fixed in place.
Listen and feel for rubbing when spinning the wheel.
As you are engaging both brakes with the tire on the ground, rock the front forward and back to check for any play or movement in the headset or front wheel.
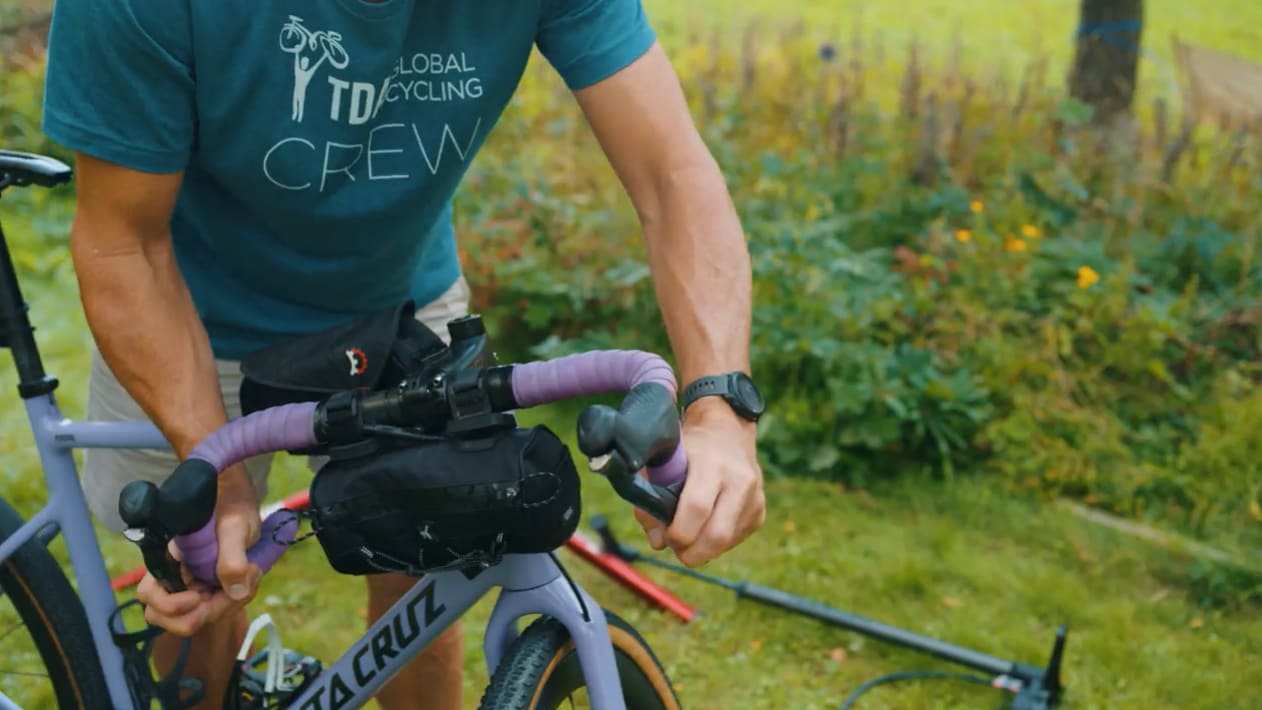
Then, get in front of the bike facing the back and straddle the front wheel. Gently push the handlebars side to side to see if the bars/stem/headset assembly is tight and remaining in line with the wheel.
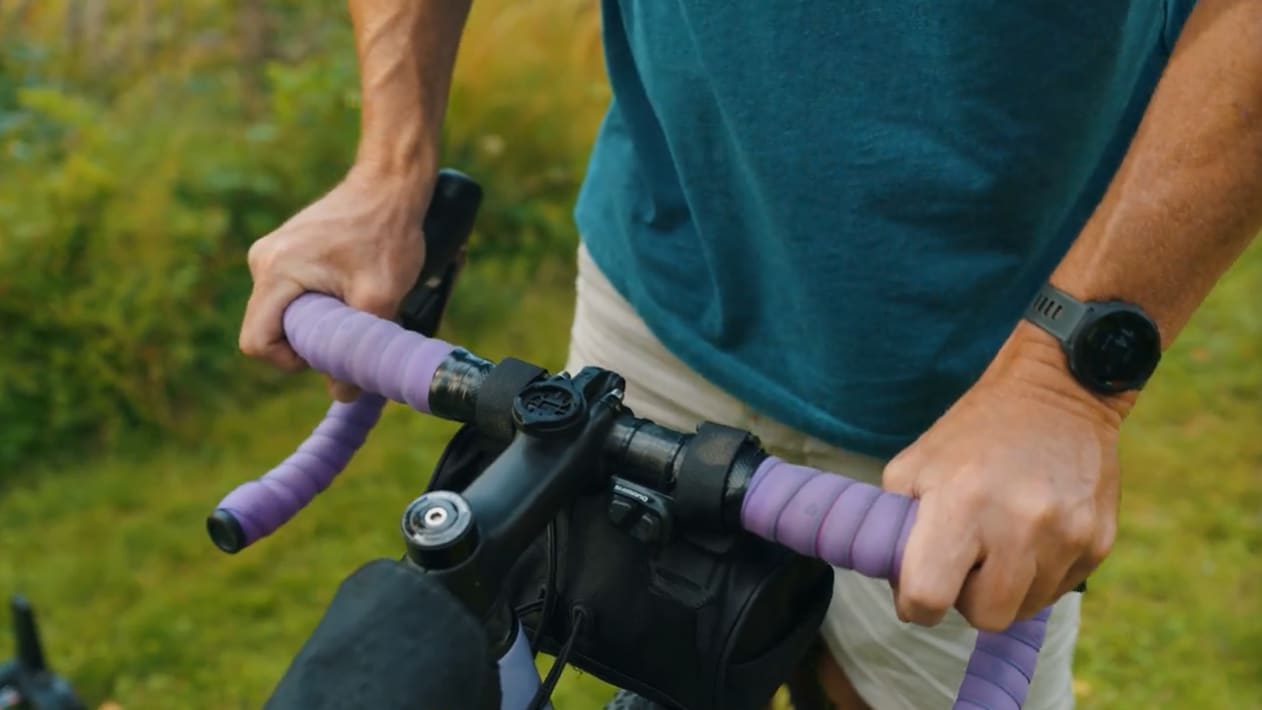
C & D — Chain & drivetrain
Next, confirm the chain is lubed and not visibly dry or rusty. Spin the crank slowly, listening for grinding or skipping.
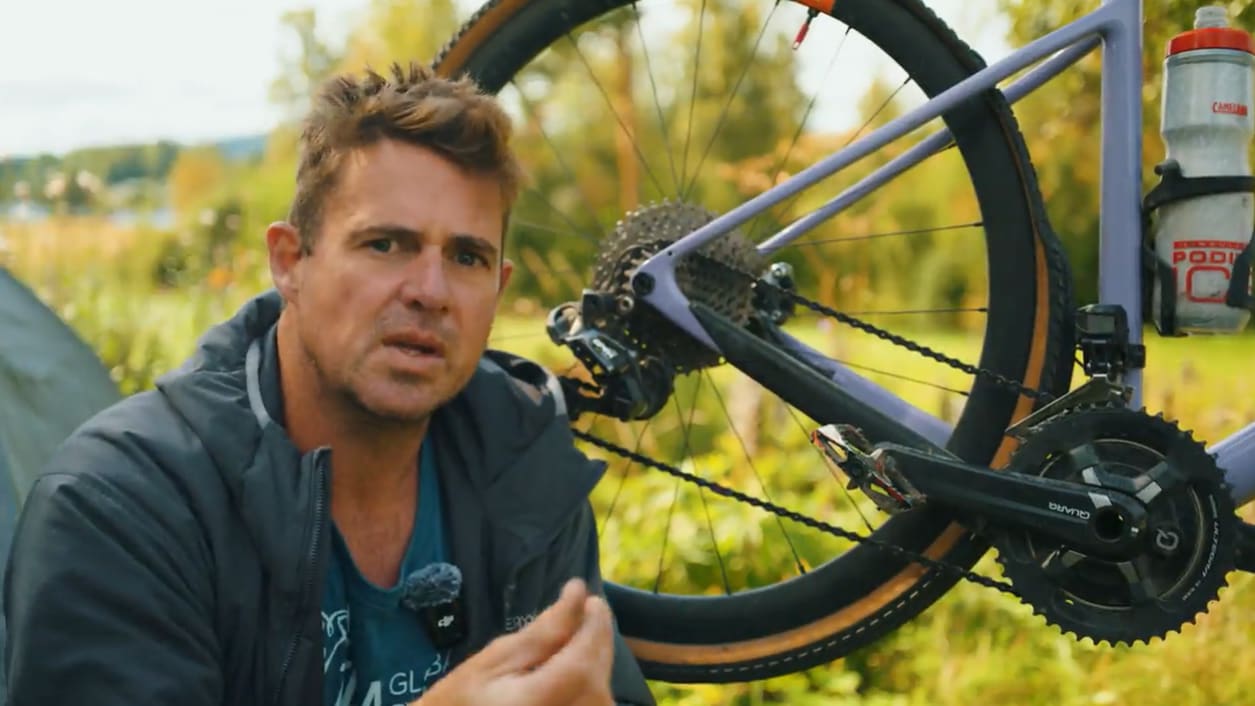
Push on the front and rear derailleurs gently to make sure they are secure and not loose. Visually inspect them for any damage. The derailleurs should be straight and upright and sit inline with the gears. Sometimes it can be bent at the point where it attaches to the frame (at the derailleur hanger).
Then push and pull the crank from side to side looking for any movement in the crank and bottom bracket assembly.
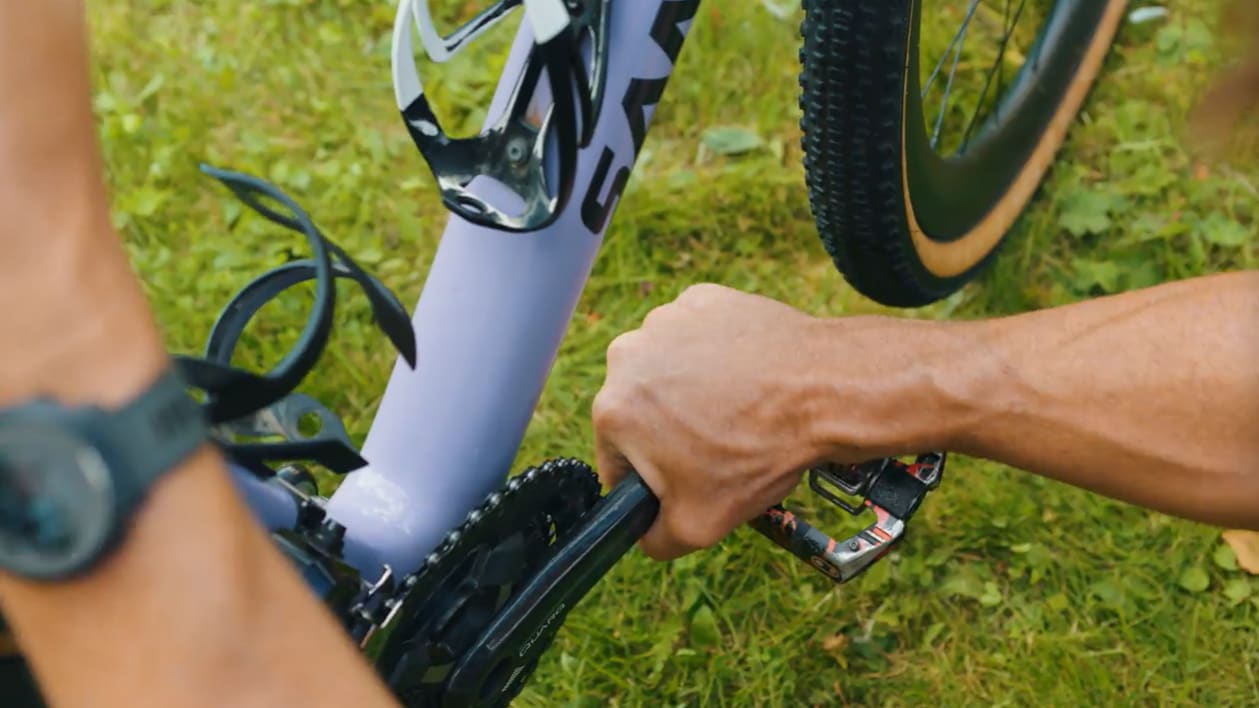
Then visually inspect the pedals – are they threaded in all the way in the crank? Do they move at all if you try to pull them up and down against the crank? Do you see any damage or embedded dirt in the clip mechanism (for clip-in style pedals)?
E — Everything else tight
Lastly, you want to confirm that the seat and wheels skewers (or wheel thru-axles) are tight. Push the seat side to side to make sure it doesn’t move.
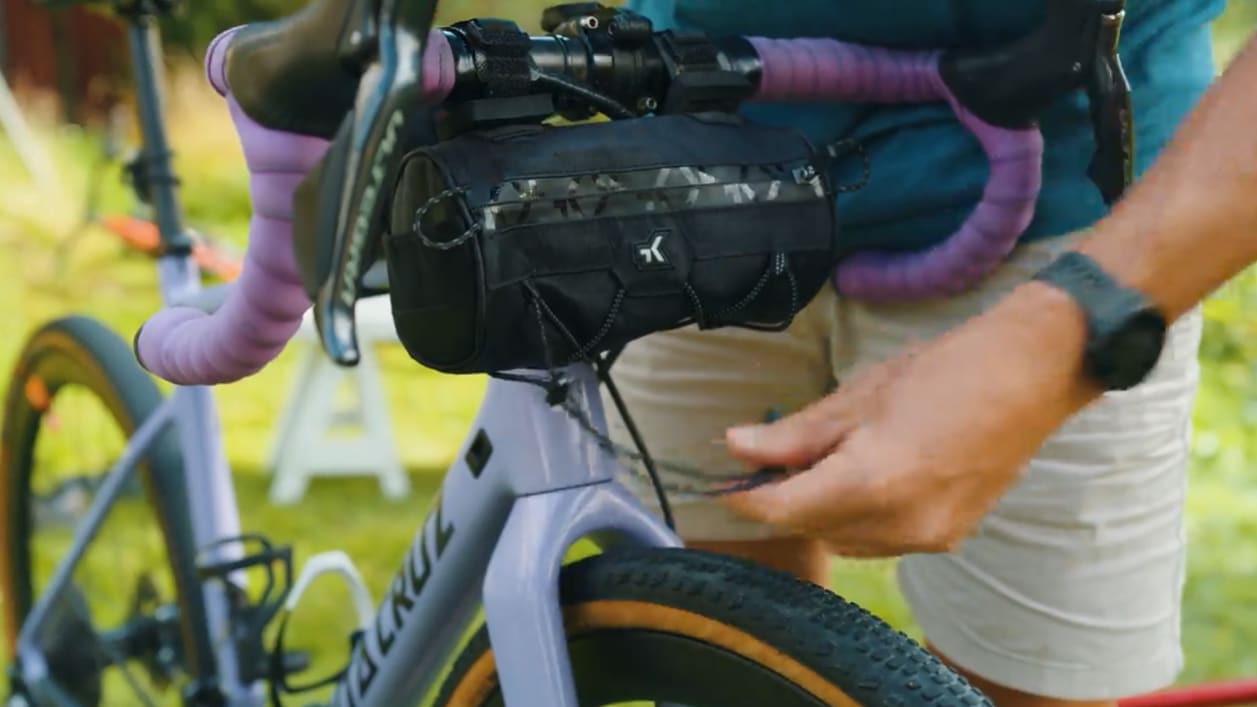
Give racks, bags, bottle cages, bells, and other accessories a quick shake or a push to confirm they’re secure. Are there any straps dangling from bags that might catch the gearings or spinning wheel? Maybe lift the bike an inch off the ground and let it drop on its wheels – listen for any unexpected sounds that might indicate something still loose that you missed.
What to do if Something’s Off
Minor issues, like low tire pressure, or a dry, squeaky chain you can fix yourself immediately. Bigger concerns, like a loose headset, worn-through brake pads or a cut sidewall, are things you should definitely address before you start riding. Speak to the tour support staff such as the bike mechanic when you are on an organized trip. If you’re travelling self-supported, try to get a lift to the nearest bike shop and address the problem as soon as possible.
Make a judgement call on what is an immediate safety issue and what is more cosmetic or less urgent. If in doubt, have an experienced mechanic or professional inspect it before you set out on your ride.
Now get out there and have a safe and enjoyable ride!
Was this useful? Many of us have our own tips and tricks, so please share yours in the comments below.
How to Prepare
An 8 part series to get you ready for your first TDA tour. Click here to read more.


Leave a Comment for "Morning Safety Check – Maintenance Series part 2 of 3"