Blog
Tubeless on Tour – Everything You Need to Know
HOW TO PREPARE: An 8 part series to get you ready for your first TDA tour. Click here to read more.
Tubeless tires have become increasingly common on all types of bicycles, to the point that these days, the majority of new bikes being sold are equipped with tubeless-ready wheels and tires. While our recommendation is that the simpler maintenance of tubed tires still makes them preferable for touring, we recognize that many riders are now using tubeless tires, including on TDA tours. For that reason, we have written this guide about touring with tubeless tires.
What is tubeless?
A typical bicycle tire is used with a tube inside. When you get a flat, you replace the tube (or patch it). As long as whatever punctured it in the first place is not still lodged in the tire, you do not need to replace or patch the tire itself. In a tubeless tire, there is no tube. Instead, a small amount (30-60mL) of tire sealant is added to the inside of the tire. This sealant closes up any tiny gaps in the rim, between the rim and the tire, and any small leaks within the tire itself. And, when everything goes to plan, if you get a puncture, the sealant may be able to quickly stop the leak with no repairs needed.
Why use tubeless tires?
In my experience, the greatest benefit of tubeless tires applies when they are used on mountain bikes. There, you are able to run much lower tire pressures without getting pinch flats, since there is no tube to pinch when you hit a rock, root, pothole, etc. The lower tire pressure greatly increases traction. On the road, however, this does not really apply, since you will still be running somewhat higher tire pressures.
There is also a small benefit of reduced weight – you save the weight of one tube per tire. This is not a huge difference, but every bit helps!
The remaining benefit, then, is reduced punctures. Well-maintained tubeless tires are very good at avoiding punctures from small items, like tire wire that we often encounter riding on the shoulder of a highway or other busy road. As the puncturing item increases in size, the chance of the tubeless sealant working to seal the hole decreases. So for things like small nails, staples, or thorns, you have a reasonable chance of the tire sealing itself up, but this won’t happen every time. And then for bigger punctures, like very large nails, or a tear in the tire’s sidewall, the sealant is very unlikely to be able to make a seal.

Tubeless problems
Flat fixes
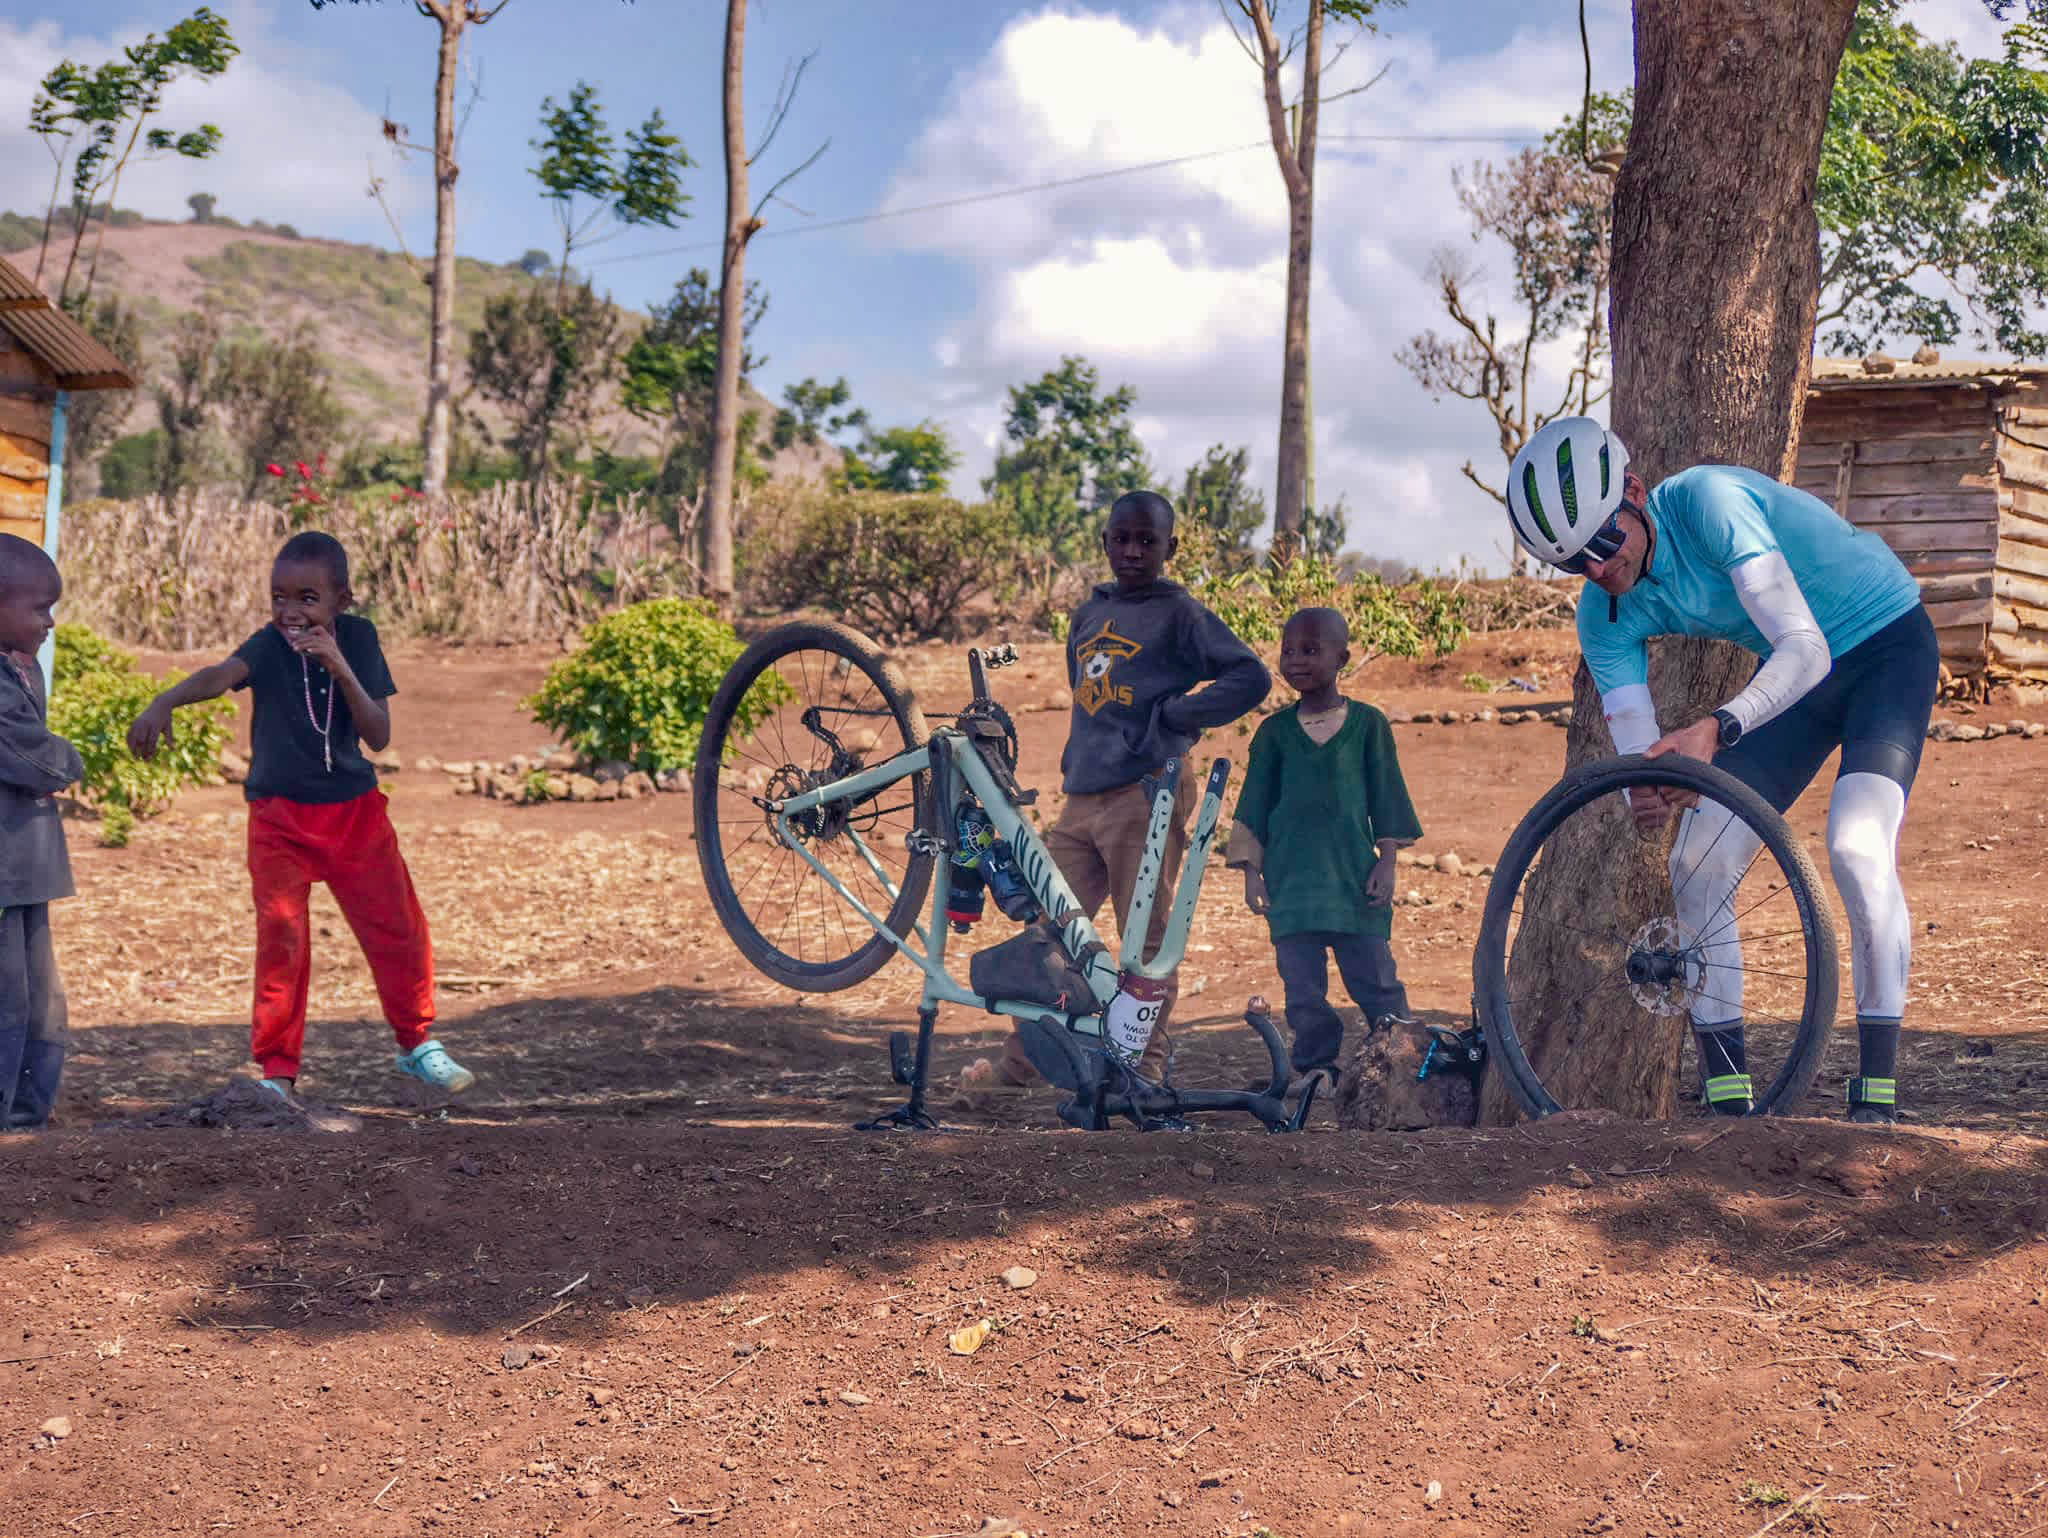
When you get a flat with tubeless tires, there are a few ways to do a repair:
- Add more sealant, and use a co2 cartridge or pump to continue to add air while the sealant works. This can usually only be done for pretty small punctures.
- Remove the tire, add a patch over the hole, and then re-add sealant (if necessary – depending how much was lost in the initial puncture, and during the repair) and add air.
- Remove the tire, remove the sealant, remove the tubeless valve stem, install a tube, and add air.
Most people plan to use the third option in the event of a flat – since doing this repair is pretty much the same process as you may have done many times before with regular tires. It should be noted, though, that your tubeless tire may have sharp objects lodged in it from previous punctures which were sealed by the sealant. So when installing a tube, you should carefully check the tire for any remaining sharp items. This is tricky to do well, since the inside of the tire will now be coated in wet sealant.
Tire mounting
Another issue is that tubeless tires can be difficult to mount onto the rim. With a regular tire, you have the tube gradually inflating, and pushing the tire out into the rim. With tubeless tires, you are relying on the air alone to force the tire into place. This is very difficult to do with a bike pump alone. Since you will not have access to an air compressor while on tour, this can be an issue. Our mechanic will have a tubeless inflation canister. But while you are out on the road, you will want to have co2 cartridges with you.

Tips for touring with tubeless tires
- You should have co2 cartridges. If you cannot fly with these (usually prohibited), you can look for somewhere to buy them at the start of your trip, but this can be challenging depending where you are in the world. If you cannot find co2 cartridges, you will need to do any repairs by installing a tube into your tire.
- Have good tire levers – tubeless tires fit very tightly on to the rim.
- Still bring tubes and patches.
- Bring spare sealant (small bottles).
- TDA tour mechanics are equipped with tubeless inflation canisters, but do not have air compressors. You should be prepared to fix your own flat when out riding.
- Choose strong tires – many tubeless tires are much thinner than the Schwalbe Marathons that we recommend for use with tubes. Look for tires with reinforced casings and puncture protection.
- Check your tire pressure – tubeless tires tend to leak air very gradually, but more quickly than tubes. Check your tire pressure every day. Having said that, you can usually stick close to the lower end of the recommended pressure range for your specific tire.
Our recommendation
- If you are already using tubeless tires at home, and are comfortable with making repairs on them yourself, they are totally fine to use on tour, as long as you bring the items mentioned above and can find co2 cartridges.
- Using tubeless is not recommended if you are not confident that you will be able to fix a flat yourself on the road. Of course we will be there to help, but not at the exact moment you get a flat.
- The best tubeless tire available is the Schwalbe Marathon Almotion. However it is currently only available in 700 x 40, 50, and 55. Make sure you are getting the tubeless-compatible version. This tire is well suited to both paved and dirt roads. Especially since, with a tubeless setup, you can drop the tire pressure to around 30psi for dirt roads without worrying too much about pinch flats.
How to Prepare
An 8 part series to get you ready for your first TDA tour. Click here to read more.
 REGISTER NOW


3 Comments for "Tubeless on Tour – Everything You Need to Know"
Point 3 in fixing tubeless flats. I think that you will have to remove the tubeless valve stem in order to have a hole for the valve stem on the tube. This may be slightly difficult out on the road, depending on how tightly the tubeless valve was installed.
If you can, go for hydraulic discs, they are amazing. Great control while stopping, even during a panic stop…don’t ask.
Yes that is a good point, I will add it to the post. I do carry a small set of pliers for that reason.
When running tubeless, you don’t lose weight. You gain it, because you HAVE to take tubes with you anyway in case of a fast flat. No way will you re-snap a tubeless tyre with your mini pump.