Blog
Packing Your Bike For A TDA Tour: My First Attempt At “Adulting” As A Cyclist
I work at TDA’s Toronto office and occasionally get asked to carry equipment to the start of our tours and then help the crew out for the first week. I’ve been on two TDA tours so far, and every time I thought how lucky I was not to have to bring my own bike. I’d watch riders show up with giant boxes, bits of foam sticking out, the smell of chain lube and airport anxiety in the air – and I’d think: thank goodness that’s not me!
But there’s one thing you quickly learn once you start pedalling a bike that isn’t yours: the bike matters. The fit, the small adjustments, the way your saddle knows your sit bones and your hands fall perfectly on the bars – it’s not just a machine. It’s an extension of you. And after a long day in the saddle, those little details make all the difference between ah, what a day and ow, what a day. So, when I learned I’d have to join one of our 2026 expeditions – camping, dust, and all that epic stuff – it hit me: I can’t avoid it anymore. I need to learn how to pack my bike.
And since I know I’m not the only one quietly terrified of this step, here’s my honest, first-timer take on it.
Step One: Accept That You’re Doing This
The hardest part is mental. The idea of taking apart your beloved bike feels like open-heart surgery but once you decide to do it, it suddenly becomes much less mystical. You’ll need a bike box (you can get one from a bike shop or order one online), a set of basic tools, and some packing materials – zip ties, foam tubing, bubble wrap, and a generous roll of tape.
Pro tip: You can never have too much tape. It holds the box together – and your peace of mind too. Personally, I also find bubble wrap surprisingly comforting.
>>Related Post: How To Box Your Bike For Your Next Cycle Touring Adventure
Step Two: Take It Apart (It’s Not That Scary)
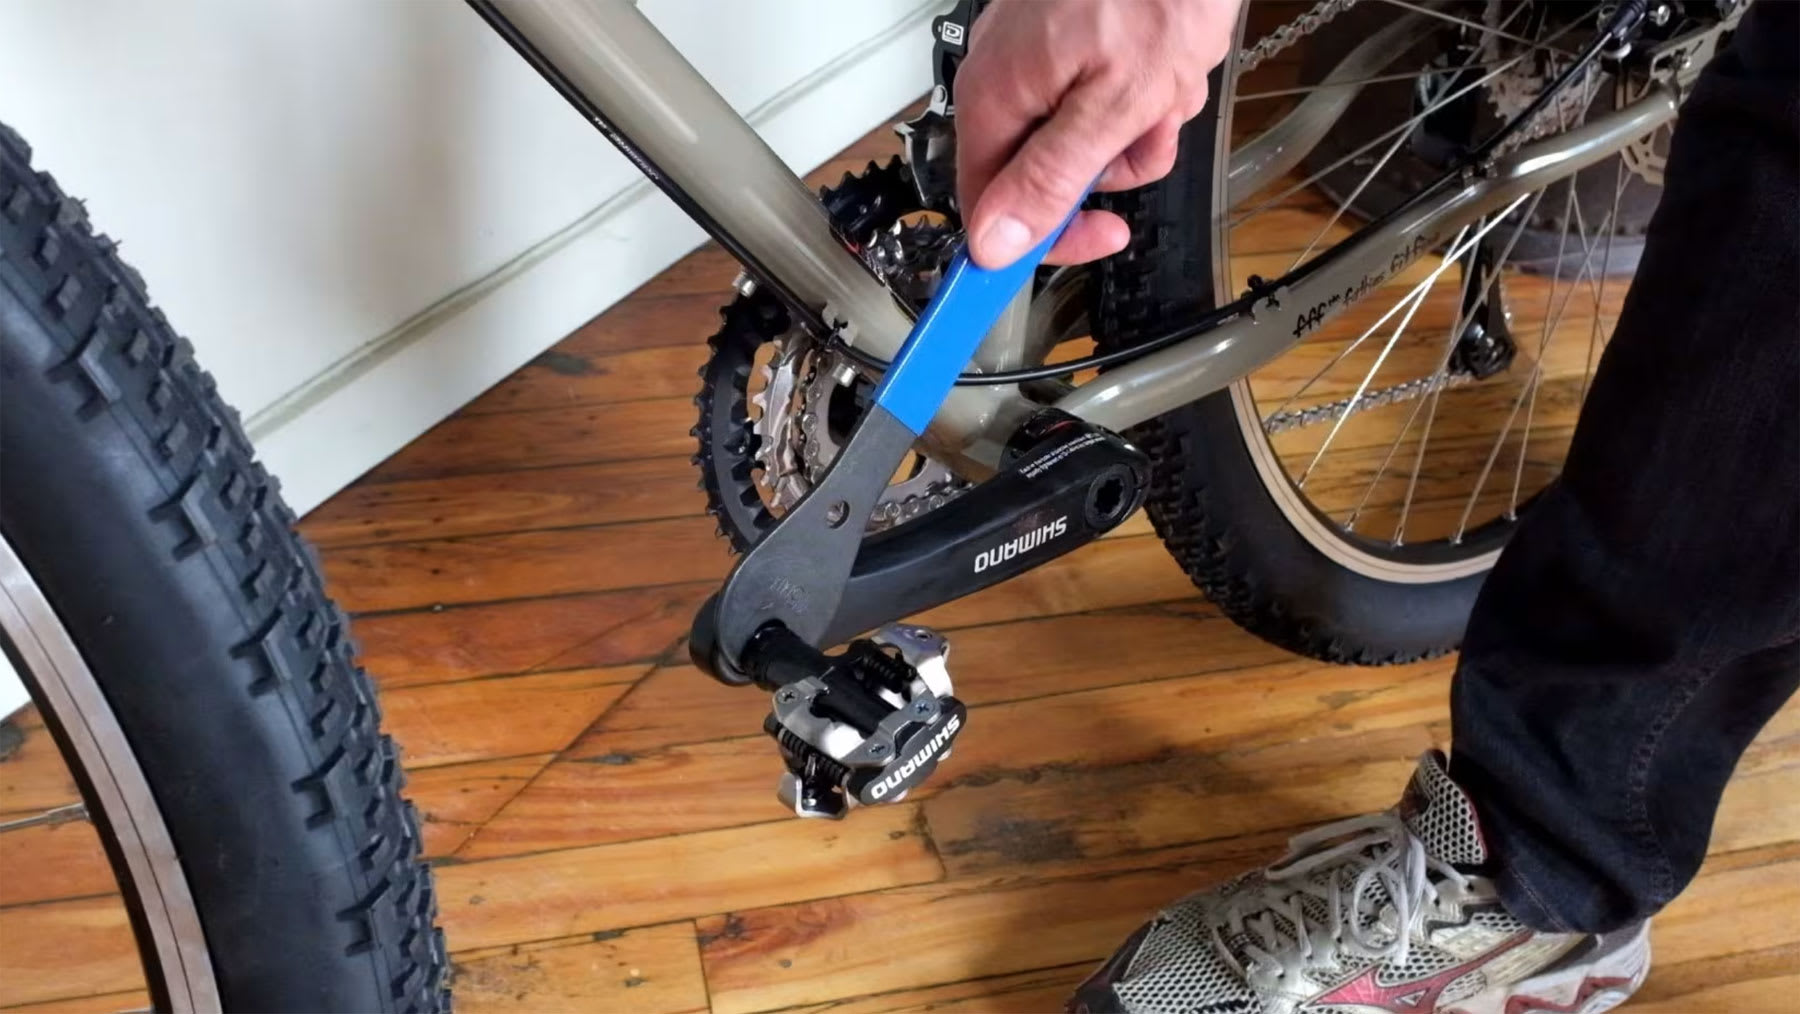
Start with the pedals – they’re usually the first thing to come off. Then remove the front wheel, deflate the tires a little, remove the seat post, remove the handlebars from the stem so they fit neatly in the box. It’s all about making your bike as flat and compact as possible without bending or forcing anything. Most riders wrap the frame with foam (you can use pipe insulation from a hardware store), tape everything securely, and zip-tie the loose parts like the chain, derailleurs, and handlebars so they don’t knock around.
If you’re a visual learner like me, there’s a great video on our YouTube channel where my colleague Shanny – still young and handsome back then – demonstrates how to pack a bike. I’ve watched it several times, and honestly, it works like magic. Every time I start doubting myself, I rewatch it and think: Okay, if Shanny can do it, so can I. Take photos as you go. Future-you, tired and jet-lagged somewhere in Nairobi or Lisbon, will thank you deeply for those photos.
Step Three: Protect the Details
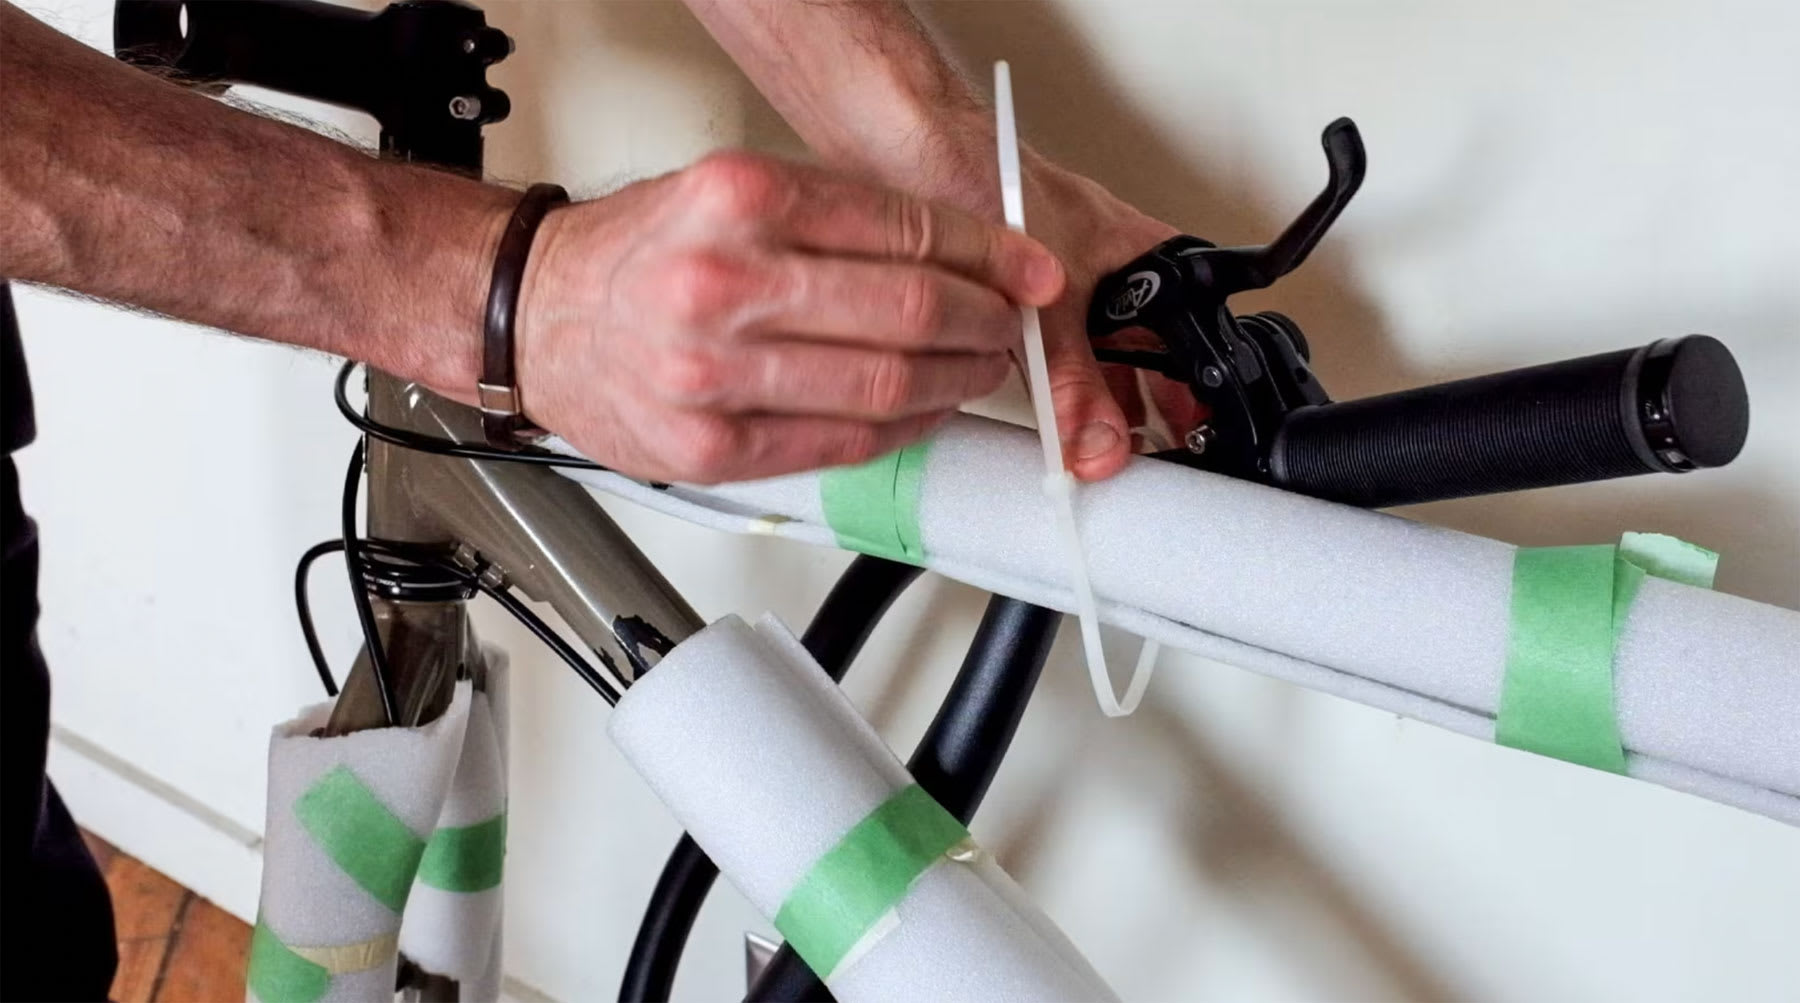
The small things matter – and they’re easy to lose. Put pedals, bolts, and small parts in a labeled ziplock bag and tape it inside the box. Add extra cardboard or foam between the wheels and the frame to prevent rubbing. You could also use soft clothing – it doubles as padding and space-saving magic. Label your box clearly, and write your name and contact info on it — airlines can be unpredictable.
Step Four: Breathe (and Double-Check Your Tools)
Bring your multitool, a pump, and a bit of chain lube in your luggage – you’ll need them to reassemble everything. And maybe throw in a sense of humour too. Because no matter how well you prepare, there’s always a moment when something doesn’t fit, or a small screw disappears into the hotel carpet.
Step Five: The Big Exhale – Unboxing and Reassembly
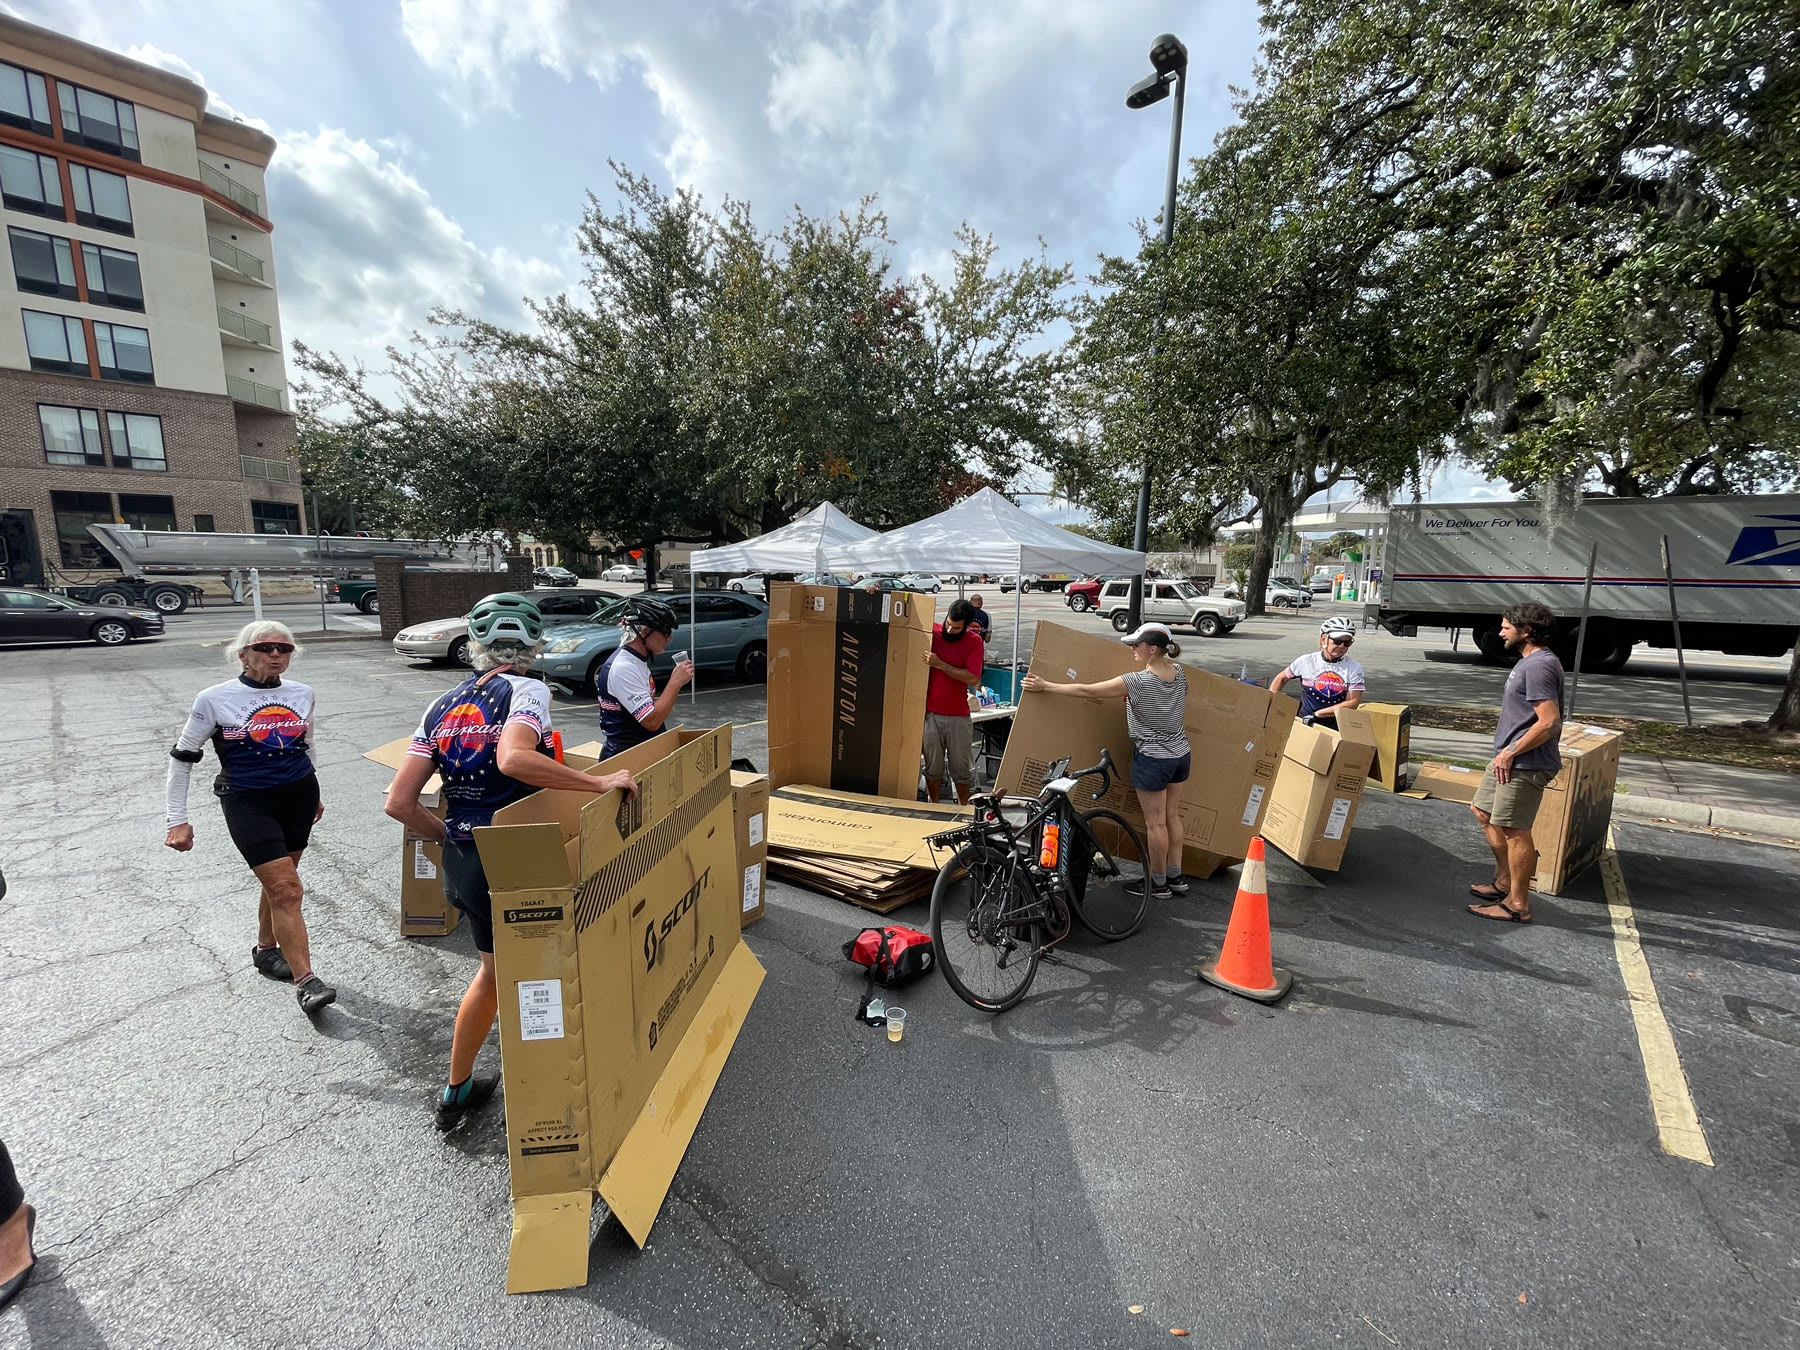
Once your bike box finally arrives at the hotel, you can breathe again – the hardest part is over. Now it’s time for the fun part: unpacking your bike, reassembling it, and seeing it come back to life. Don’t worry if you’re not fully confident – our bike mechanic will be there to help you with the setup and final adjustments. It’s a team effort, and watching everyone bring their bikes back together in the first hotel is part of the pre-tour ritual. There’s excitement, relief, a bit of grease on everyone’s hands – and that first test spin in the parking lot feels amazing.
One more practical tip: you don’t need to worry about finding bike boxes at the end of the trip for your flight home – our crew will have cardboard boxes ready for you when you arrive.
A small heads-up for first-timers: while hard bike cases exist, we do not allow them on the tour: they take up a lot of space in the support van and can be tricky to handle on a long expedition. Cardboard boxes are the ideal choice for the long point-to-point tours that we run.
Step Six: Embrace the Adventure
When you finally close that box and stick the label on, it feels strangely satisfying. You’ve just done something that seemed impossible an hour ago. And when you land and unpack it on the other side, put the wheels back, and see your bike standing proudly again – that’s when it hits you. You didn’t just move a bike across the world. You moved a part of your story. So, if you’re sitting there wondering whether you can do it – you absolutely can. It’s one of those things that looks intimidating from the outside, but once you’ve done it, you’ll wonder why you ever worried. And maybe one day you (and me) will be those people reassuring the next nervous newbie: “Don’t worry, it’s easy-peasy.”


Leave a Comment for "Packing Your Bike For A TDA Tour: My First Attempt At “Adulting” As A Cyclist"